How to Set Up a Local WordPress Install
Let’s talk about why you might want to install WordPress locally. Then we’ll show you how to get the job done and touch on how to import and export websites.
Most of the time, you’ll want to set up WordPress on a web host so your site can be easily viewed by anyone. However, you may also want to create an installation on your own computer for testing purposes. This means you need to learn how to do a “local” WordPress Installation.
There are plenty of tools that enable you to do this without much trouble, even if you aren’t technically-minded. One option is DesktopServer since it’s a WordPress-specific tool with an easy-to-follow interface. Using this solution, you can set up a local version of your WordPress site in no time.
Why You Might Want to Install WordPress Locally
When you set up your site on a web host, you’re making it ‘live’. That just means you’re putting it online so anyone can visit it. In contrast, a ‘local’ site is one that exists only on your computer, and can’t be accessed anywhere else. While most websites are designed to be live, there are times when you’ll want to build local sites instead (or at the same time).
Local websites are useful for a variety of reasons. Here are a few of the most common scenarios in which you’ll want to install WordPress locally:
- If you want to perfect your website without having to upload your changes to a remote server. In fact, a local site allows you to write and test without having a good connection to the internet — like when you’re 30,000 feet up in the air. You can create a local site and tweak it until it’s perfect, then make a live copy for everyone to see.
- To test out changes, such as switching to a new theme or adding new plugins to your site. Trying out these alterations on a local site means you won’t be negatively affecting your visitors if something doesn’t work right or you end up rolling back the changes.
- When diagnosing bugs or other issues, you can run tests and try out solutions on a local copy of your site first. Then, you’ll be able to fix your live site quickly and without much impact on your visitors.
As you can see, all of these things can be done on your live site. However, making changes, running tests, and fixing bugs takes time, and can introduce problems that might negatively impact your visitors’ experience. That’s why having a local version of your website is so useful. You can experiment with it in any way you’d like, without the risk of breaking parts of your live site.
Similarly, local sites are an excellent way to learn more about WordPress and to experiment with advanced changes and modifications. You may find it worth your while to create local WordPress sites you never intend to make live, simply to play around with the platform and its various tools.
No matter what reason you need to install WordPress locally for, you’ll need a solid tool to help get the job done. Let’s take a look at our recommended option.
An Introduction to DesktopServer
Creating a local WordPress site manually is possible, but it’s a complex process. Fortunately, there are a lot of solutions that can help you install WordPress locally, and many are solid options. However, we’d suggest starting out by taking a look at DesktopServer:
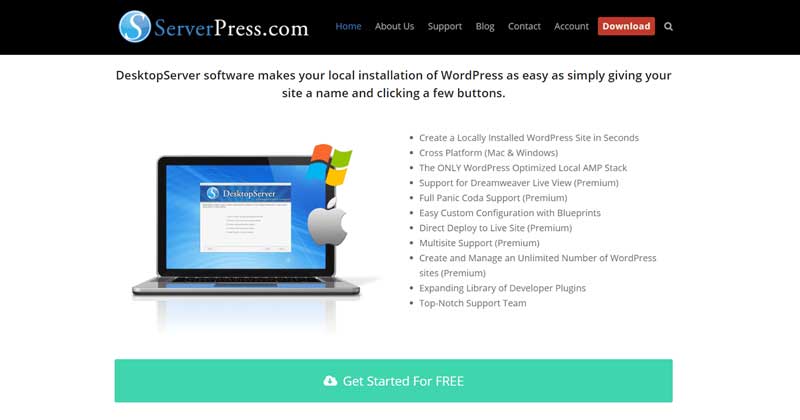
This tool has a number of advantages that make it a smart pick. It’s designed specifically for WordPress, which means it’s fully optimized for the platform. Plus, it’s a beginner-friendly option that makes the process of creating a local site as simple and quick as possible.
Key Features:
- Enables you to create local WordPress sites in a matter of minutes.
- Optimized for WordPress and works on Mac and Windows.
- Provides automated WordPress installation.
Price: The base version DesktopServer is completely free and should be all most users need. If you want access to more functionality — such as Multisite support and the ability to directly deploy your testing site as a live site, you can get the premium version for $99.95. This upgrade also lets you create and manage an unlimited number of local sites (the free version is limited to three sites).
How to Set Up a Local WordPress Install (In 3 Steps)
Now, let’s talk about how to actually install WordPress locally. For this walkthrough, we’ll be using the latest version of DesktopServer. By the end of these three steps, you’ll have a new, local WordPress site ready to go.
Step 1: Download and Configure DesktopServer
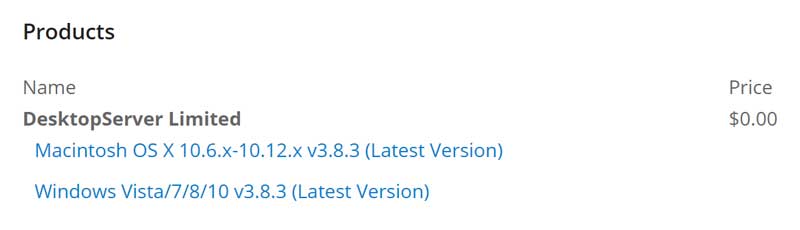
First, you’ll need to visit the ServerPress website and download the free version of DesktopServer. You’ll have to go through a checkout process, but don’t worry — it won’t ask for any payment details. After you enter some basic information, you’ll be presented with two links, one for each operating system:
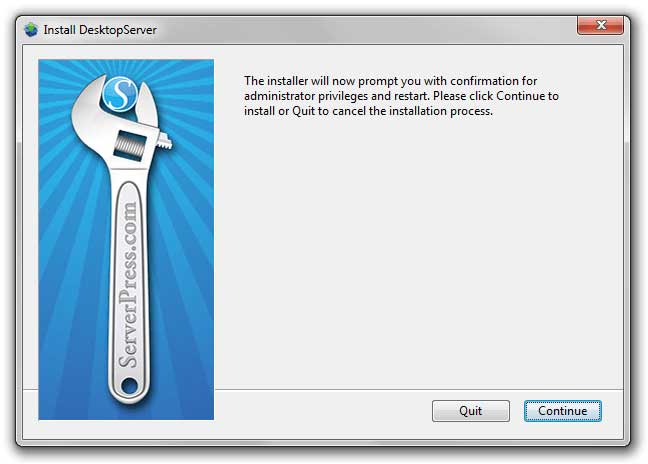
Click on your desired version, which downloads a zip folder. Extract it, and then run the Install application. You’ll be prompted to restart the application with administrator privileges — this is necessary for the tool to work:
Next, select the New DesktopServer Installation option, and hit Continue. At this point, you'll need to wait for a few moments while the program is installed. During the process, it’s possible you may see an error:
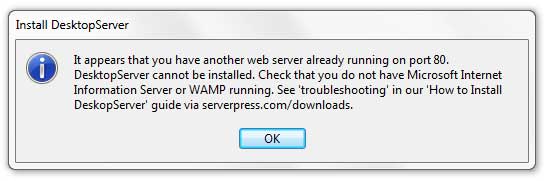
This means you have a similar program installed on your computer that is using the ports DesktopServer requires. In most cases, this will be another tool used to install WordPress locally, such as XAMPP or MAMP. To fix this error, you’ll need to stop the software, then come back and restart the DesktopServer installation process.
Once the installation has successfully completed, you’ll be prompted to close the installer. Then, navigate to the newly created xampplite folder on your computer, and run the program.
Step 2: Create a New Development Site
The first time you launch DesktopServer, you’ll be prompted again to restart it using Administrator privileges. This is necessary if you want all of the tool’s features to function properly. Then, you’ll see the following screen:
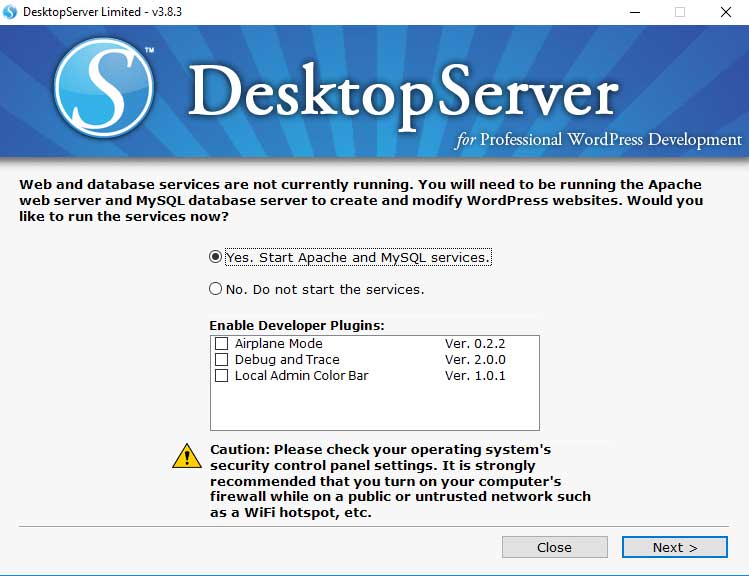
There are developer plugins here that you may want to enable once you’ve become more familiar with the process of creating local sites. However, for now, leave those boxes unchecked. Select Yes. Start Apache and MySQL services, click on Next, and give the tool a moment to run. If you get a message related to your firewall, you’ll want to enable access for DesktopServer, at least on private networks.
After a few seconds, you’ll be offered a couple of options:
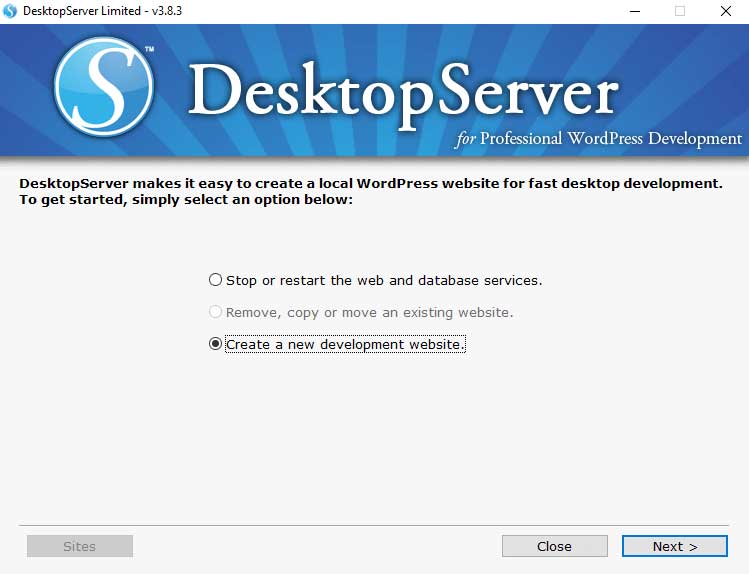
Choose Create a new development website, and hit Next. On the following screen, you can create a URL for your site:
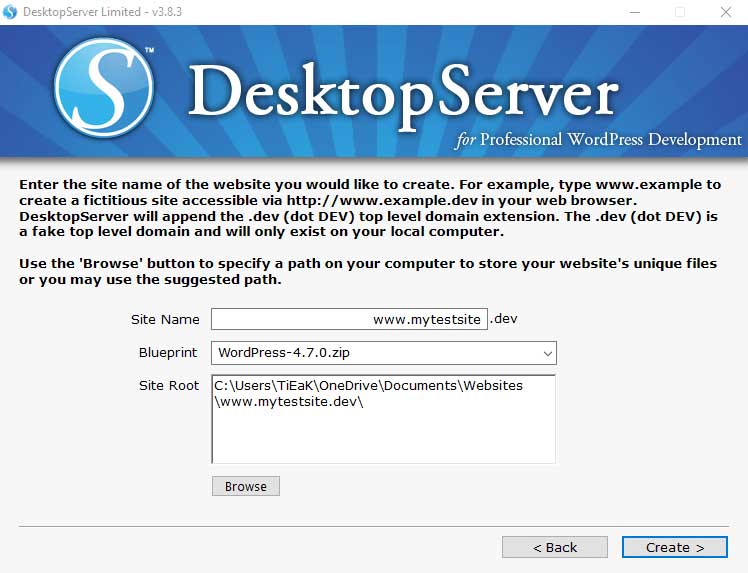
Since this won’t be a public domain and only you will be able to see it, it’s best to pick a name that is clear and easy to remember. Leave the Blueprint option at its default to create a WordPress site, and if you want, use Browse to customize where the site’s files will be saved on your computer.
Select Next one more time, and DesktopServer will set up your new website for you. This may take a little while, so be patient! When it’s done, you’ll be presented with a URL:
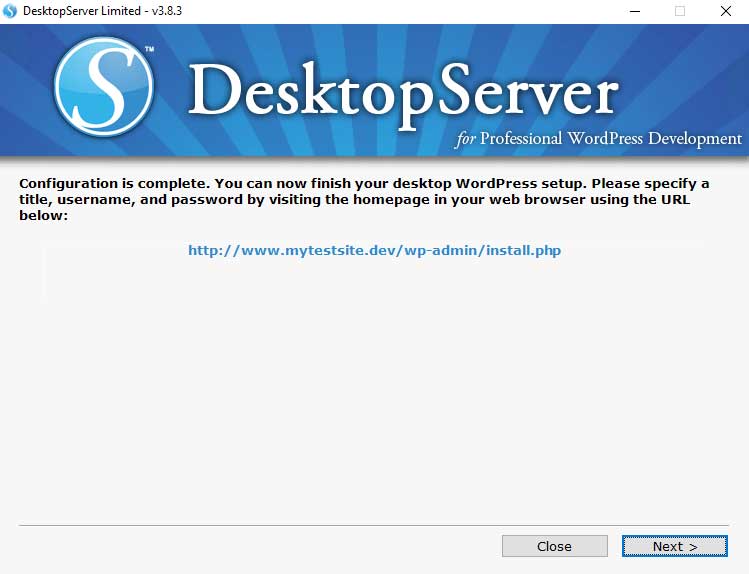
You’ll need this URL in the next step, so click on it to visit your new WordPress site.
Step 3: Set Up WordPress on Your Computer
Once you visit the URL you received at the end of the last step, you’ll be taken to a new browser window. This is where you’ll actually install WordPress locally on your computer. Start by choosing your language, then hitting the Continue button:
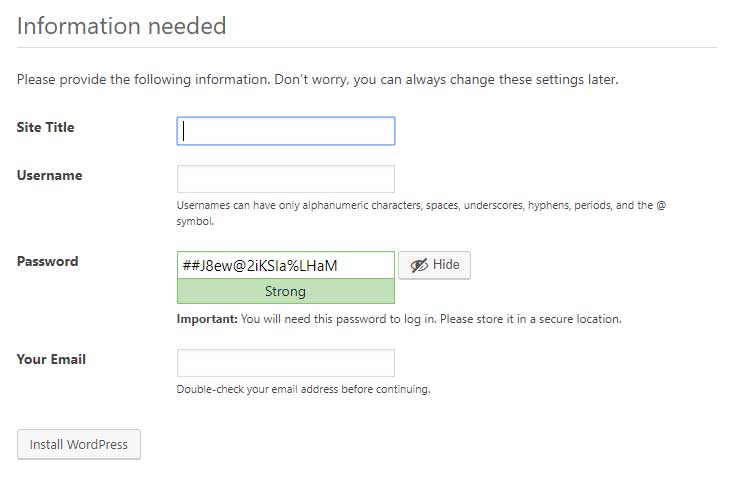
On this next screen, you’ll need to create some basic information for your new WordPress site. You can give it a title, choose a username for your admin account, set up a password, and enter your email address. All of these settings can be changed later on if you need to. Make sure to record your username and password in a safe place, since you’ll need those credentials to log into your site later. Then, click on Install WordPress!
After a moment, you’ll be taken to the dashboard of your new local WordPress site:
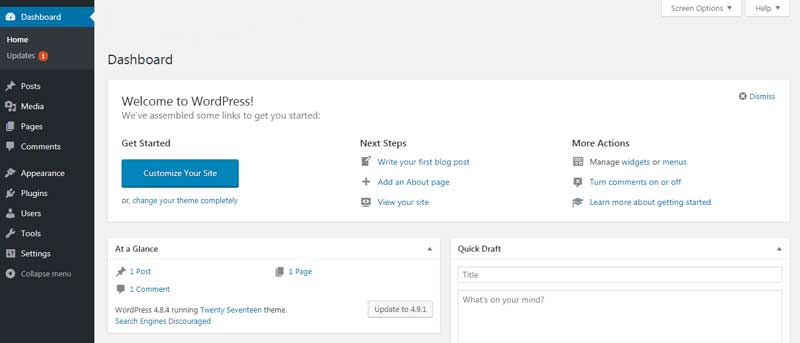
It should look just like any other WordPress site, and you can start customizing it right away. Keep in mind that even though the site isn’t live, you can do anything you like with it, such as installing themes, plugins, and other tools.
Also, it’s worth noting that the site you create through this process will be a completely new, blank website. If you want to create a copy of an existing site or learn how to make your local site live when you’re done perfecting it, read on.
Importing and Exporting WordPress Sites
The above method works perfectly if you’d like to set up a brand new WordPress install for local development purposes. However, you may instead want to create a copy of your live website for testing and experimentation. Alternately, you might need to know how to take a local site and make it live once it’s ready to go.
Both of these are tasks you can accomplish with DesktopServer, although you will need the premium version of the tool to move and copy sites. If you decide to opt for this method, you can find useful instructions on how to import and export sites in DesktopServer’s documentation.
If you don’t want to pay for a solution, however, you can find free alternatives. There are plenty of WordPress plugins that can help you out. Duplicator is a solid option:
This plugin enables you to back up, copy, and migrate WordPress websites, and is pretty easy to get started with.
Finally, don’t forget that if you want to take a local website and make it live, you’ll need to purchase a domain and a hosting plan for it. We highly recommend checking out our own DreamPress service — a managed hosting plan designed specifically for WordPress, which ensures that your site runs fast and performs well. If you have any questions about how to get your local site set up on DreamPress or one of our other hosting plans, we’d be happy to help!
Conclusion
If you want your website to be successful, you’ll need to ensure that the experience of visiting it is as smooth and seamless as possible. With a local site, you’ve got the option to make changes without a remote server. This way, you can alter and tweak things to your heart’s content, without the risk of breaking your site or bringing it temporarily down.