A New Developer's Guide to Creating WordPress Plugins
In this guide, we’ll look at how to get started with plugin development. We’ll also take you through the process of creating your very first plugin.
Plugins are a big part of why WordPress is such a versatile and user-friendly platform. They enable any user to quickly add new code and functionality to their site with the click of a button. However, what if you don’t want to settle for the existing plugins, and make your own instead?
Fortunately, creating a plugin is not the complicated process you might be worried it is. With a little time and effort, almost any user can create a plugin from scratch. As long as you understand how plugins hook into WordPress’ core (which we’ll explain), building your own plugin can be a fun and challenging project.
Why You Might Want to Create Your Own WordPress Plugin
In simple terms, plugins are pieces of software that add new functionality to your WordPress site. They ‘hook’ into the core of the WordPress platform and expand on it in thousands of different ways.
Using plugins grants you almost limitless customization possibilities. If there’s a feature you want to add to your site, you can search the Plugin Directory, which contains thousands of options.
If you can’t find a plugin that does what you want or you feel like the existing options aren’t quite right for your site, you might want to consider creating your own instead. To do this, you’ll first need to understand how plugins interact with WordPress.
How Plugins Work: Hooks, Actions, and Filters
The most difficult part of getting started with plugin development is learning all the related terminology. For that reason, we’re going to explain some of the most important and commonly-used terms now.
One of the most important concepts you’ll come across is hooks. Hooks are connection points where you can attach your plugin to the WordPress core code. Basically, hooks determine when and where the plugin will be used on a site.
A basic example of this is the wp_loaded hook, which is triggered when the entire WordPress site has been loaded. If a plugin has functionality that needs to run only when that state has been reached, you would want to connect it to this hook.
Hooks come in two variations — actions and filters. The basic distinction between the two can be summed up as follows:
- Actions add new functionality.
- Filters modify existing functionality.
There’s more to it than that, of course. We recommend that you read up on how actions and filters work if you want to understand them fully.
What to Consider Before Creating a Plugin
WordPress provides a list of best practices to follow when creating your plugins.
Before you start creating a plugin, you need to review the WordPress-recommended best practices. Adhering to these guidelines will help you to create a solid foundation for your plugin. It will also ensure compatibility with other plugins and themes and make it easier if you want to share the plugin.
First, you should consider how you will name your plugin, variables, and functions. This is important, as you want to avoid creating names that match those used by other plugins. The best strategy is to add a unique prefix to every variable and function you define.
Next, you need to make sure your plugin is secure. This is a big but important topic. We recommend that you read through the Plugin Handbook for more information on how you can ensure that your code is safe. An improperly secured plugin can be a massive risk on any site so do not overlook this aspect.
You’ll also want to consider how to structure the plugin. How many files should it contain and do you want to save it in one folder or spread it out over several? Thinking about this in advance will give you a solid framework to use and make it much easier for other developers to understand how your plugin works.
Finally, it’s important that you adhere to WordPress’ coding standards. These were created by the WordPress community and will help you avoid common coding errors. They will also make your code easy for other WordPress users and developers to understand.
How to Create a WordPress Plugin (In 5 Steps)
By now, you should be well prepared to dip your toes into the waters of plugin development. So without further ado, let’s get started! These steps will take you through the process of creating your first plugin.
1. Set Up a Staging Site
First and foremost, you’ll need to create a staging site if you don’t already have one. A staging site, also known as a development environment, is a website that is not available to the public and is only used for development purposes.
A staging site enables you to develop your plugin and test it without affecting your live site. You should never use a live site for development, as you could break the site or make it vulnerable. Your staging environment can be a local WordPress installation on your own machine or a private WordPress site.
We’ve already written a guide on creating a staging site so we won’t go into full detail here. You can also check out our tutorial on installing a local version of WordPress if you’d prefer to work offline.
2. Create a New Plugin File
With your staging site ready, it’s time to get to work. The first thing you’ll need to do is create the folder where your plugin will live. All plugins are added to the same location, which is the directory called /wp-content/plugins/.
Navigate to this location now, and create a new folder, giving it a name that matches your plugin. For example, if your plugin will be called “My First Plugin,” it makes sense to name the folder my-first-plugin.
You should then add a new PHP file to this folder, with the same name (for example: my-first-plugin.php). You can do this using any text editing software, such as TextEdit or Notepad. With the file still open, enter the following information:
						<?php
						/**
						* Plugin Name: My First Plugin
						* Plugin URI: https://www.mywebsite.com/
						* Description: The first plugin I have created.
						* Version: 1.0
						* Author: Your Name
						* Author URI: http://yourwebsite.com/
						**/
As you can probably tell, this is meta information that WordPress will display alongside your plugin. Replace the placeholders with the correct details and save the file.
At this point, you can open your site’s admin area and click on Plugins. You’ll notice that your new plugin has been added to the list.
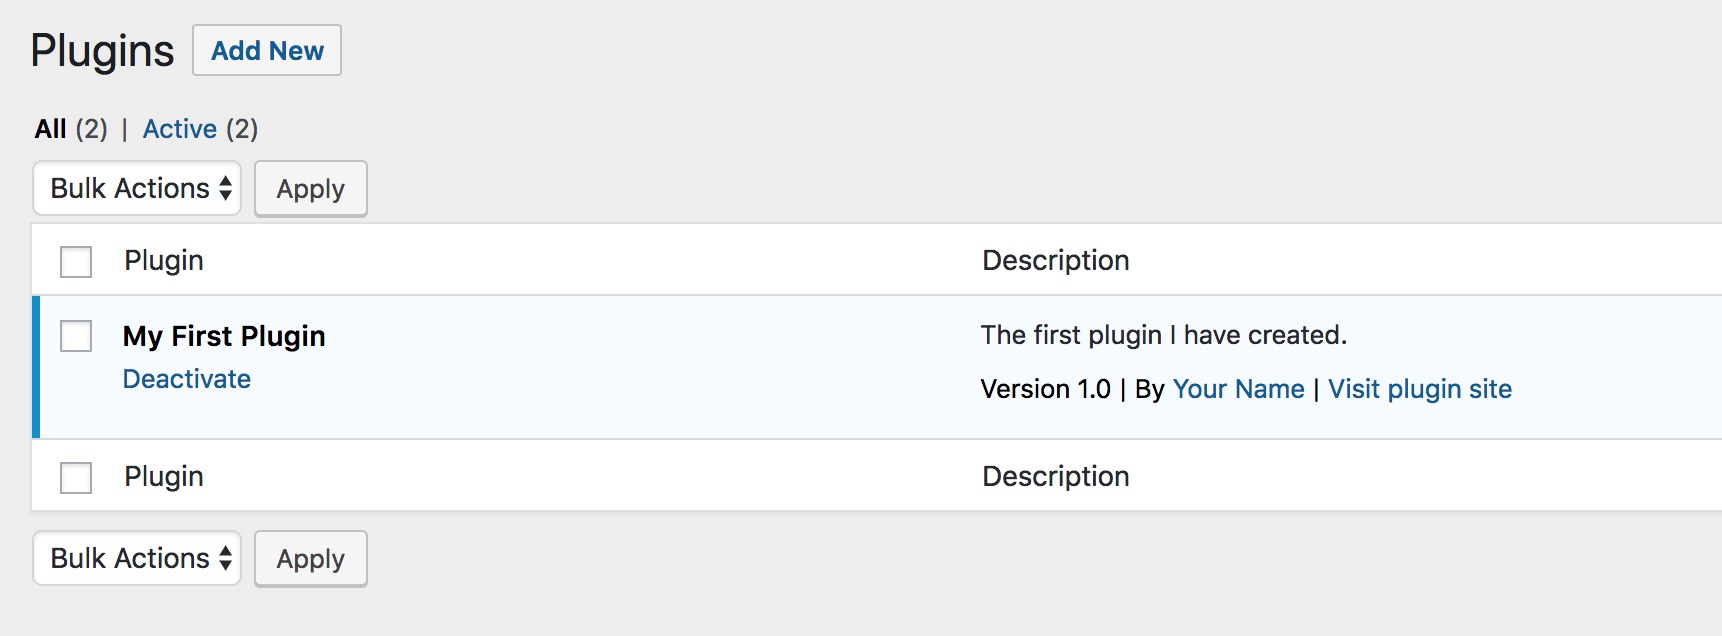
Obviously, you haven’t added any functionality yet so the plugin won’t actually do anything. However, you can still activate it.
You should also add a readme file to your plugin. You’ll need this if you intend on sharing the file with others as it determines the contents of your plugin’s page in the directory. It’s also important that your file adheres to the WordPress standards.
As before, you can use any text editor to do this as long as you save it with the file name readme.txt. You can also use the Plugin Readme Generator to create this file quickly. When you’ve used either method to create a readme file, save it to your plugin’s folder.
3. Add Your Code
It’s time to add functionality to your plugin; this is where your creativity gets to shine! There really isn’t a limit on what you can do at this point, other than your imagination and coding prowess.
For now, let’s create a simple plugin containing a single function.
Our plugin will change the default error message that appears when users make an unsuccessful login attempt on your site. By default, this message tells users why the attempt was denied.
Your plugin will contain a function that replaces this message with something generic. Open your my-first-plugin.php file in the editor of your choice, and add the following code after the header information:
						function dh_no_wordpress_errors(){
						return 'Something went wrong!';
						}
						add_filter( 'login_errors', 'dh_no_wordpress_erors' );
This is a very simple example, but let’s break it down.
First, we’re defining a new function called dh_no_wordpress_errors – with the ‘dh’ prefix (for DreamHost) to make sure the name is unique. This function only does a single thing, and that is to return a specified string. That string is what we want to display instead of the error message. We’ve set this to “Something went wrong!” but feel free to change it to anything you like.
After that, we’ve used a filter that connects to the hook called login_errors. When this particular hook triggers — i.e., when a login error occurs — the filter will run the no_wordpress_errors function.
Once you’ve pasted in the code, you can save the file, and the plugin will be good to go. As we mentioned, this is only a basic example. Feel free to create something brand new instead or even expand our function.
4. Test the Plugin
After you’ve added some code to your plugin, you need to test it to make sure that it works correctly. This is usually easy to do, although the method of testing will depend on the functionality you’ve added.
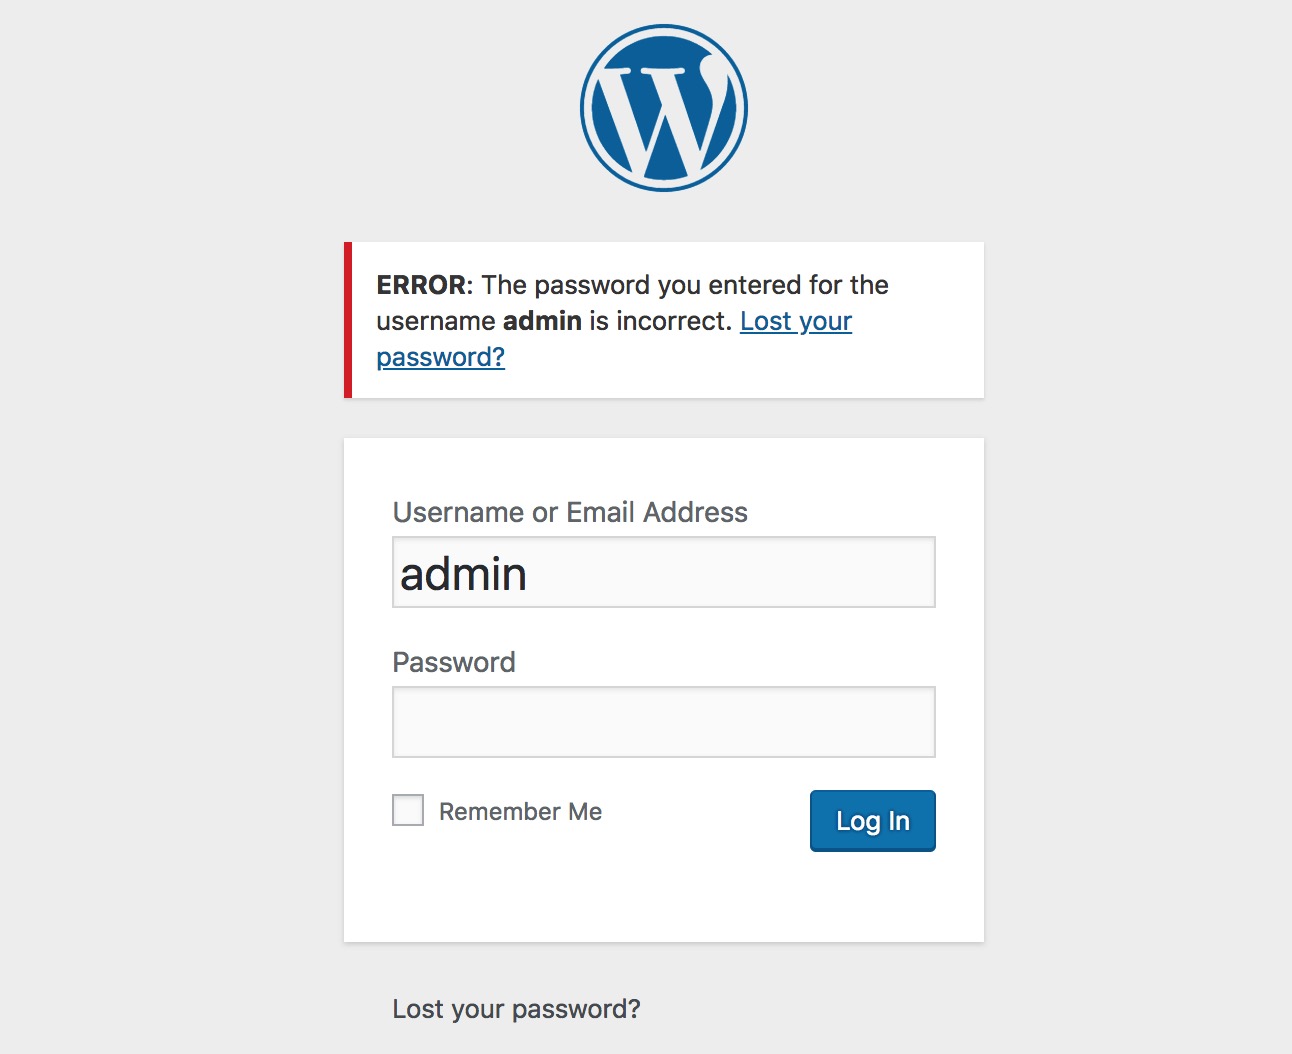
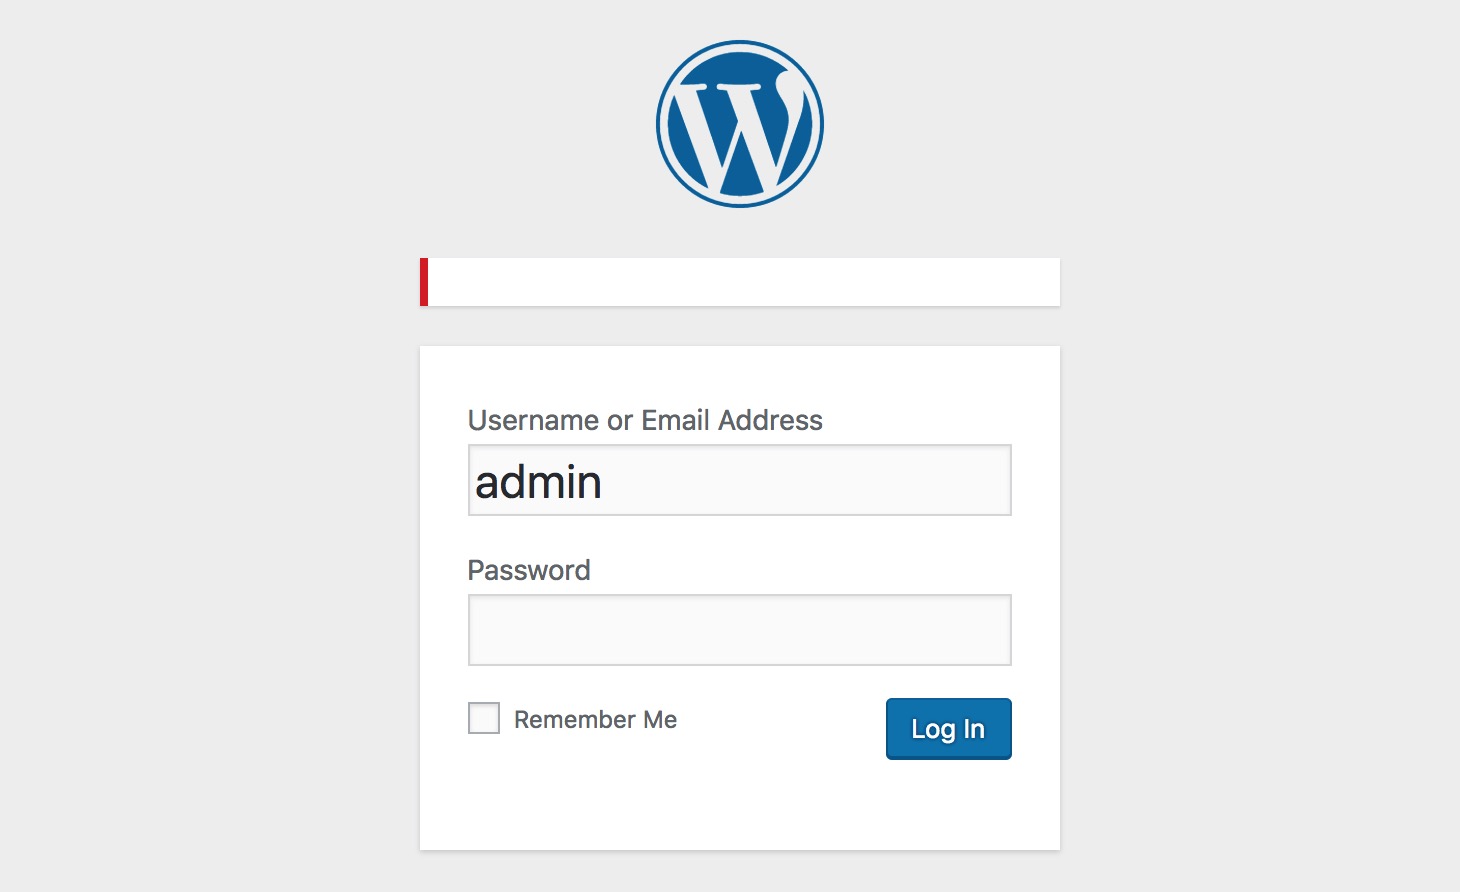
Let’s continue with our example from above. Log out of the WordPress admin area and access the /wp-login/ page for your staging site. Then, try to log in using some deliberately incorrect credentials. If your plugin has succeeded, you will see the message you specified.
However, if you used the code we provided and made no alterations, you will find that the plugin hasn’t worked. In fact, you’ll most likely see that no error message appears at all.
This is because we actually made a deliberate mistake in the code, which you’ll have to correct before the plugin will work (apologies, but we wanted you to experience testing a plugin too).
Return to your my-first-plugin.php file. You may already have spotted the error here. In the final line, the last function name is incorrectly spelled. You can fix that by using this version of the line instead:
add_filter( 'login_errors', 'dh_no_wordpress_errors' );
You can now save the file and try again. This time when you attempt to log in with incorrect credentials, you should see your customized message.
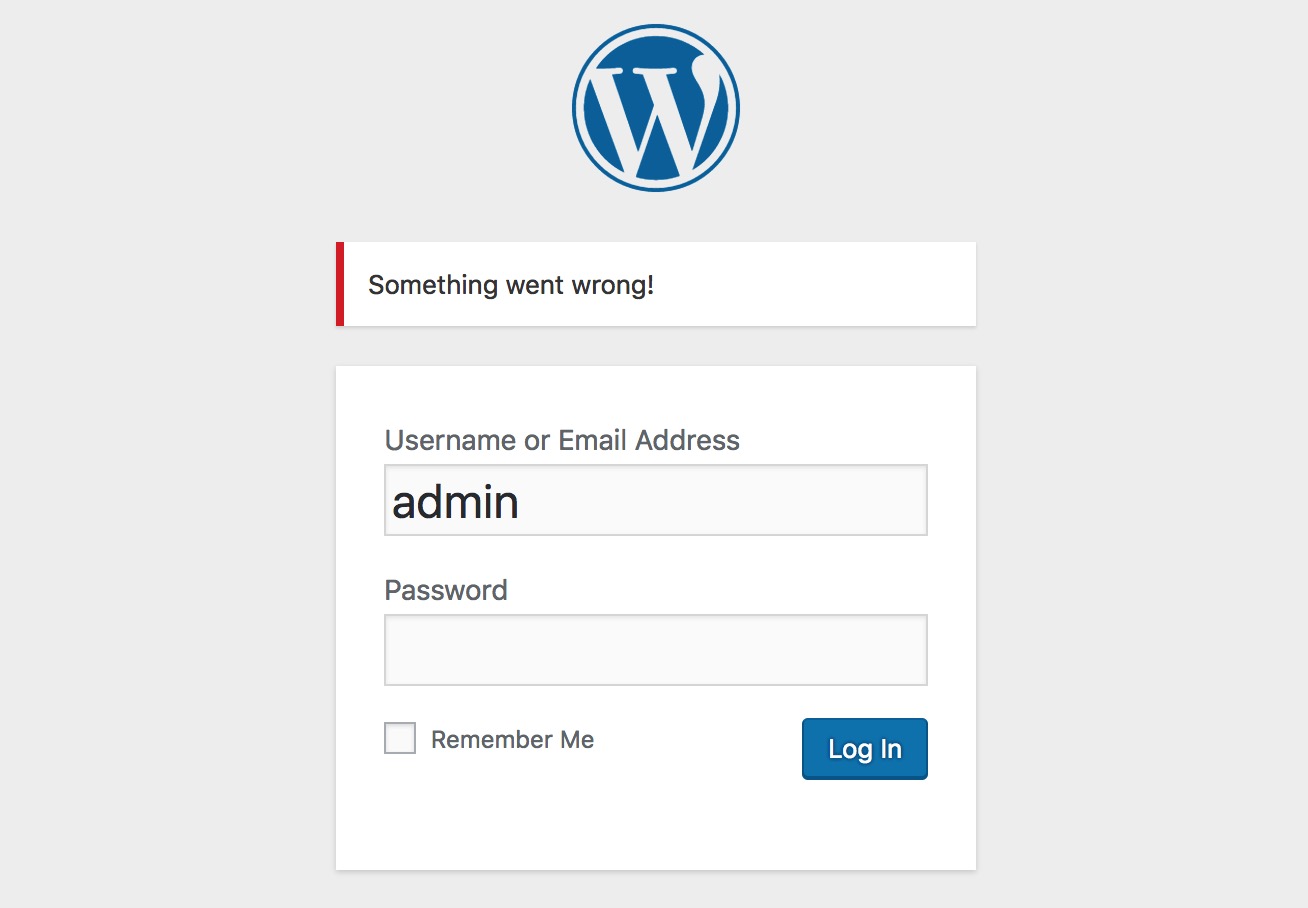
Now, you know for sure that your plugin is working properly!
5. Share the Plugin
At this point, your plugin is ready to be installed and activated on any WordPress site. The easiest way to do this is by compressing the my-first-plugin folder as a zip file. You can then use this zip file to install the plugin on your live site.
You might also want to host the plugin externally, where it can be downloaded, tested, and used by others. The most common host is the WordPress Plugin Directory. If you want to add your plugin there, you will need to submit it. Remember, there are certain restrictions that your plugin must adhere to.
Another option is to upload your plugin on a different host, such as GitHub. This requires you to create a repository for your plugin, after which you can upload it. For more information on using GitHub, you can refer to the official documentation.
Conclusion
By creating your own plugins, you grant yourself an unprecedented level of control over your WordPress site. Plugins can be used to customize any feature or functionality you’d like. If you take the time to learn the basics, making your first plugin shouldn’t be that difficult — for amateurs and budding professionals alike.