A Beginner’s Guide to WordPress Widgets and Sidebars
In this guide, we’ll explain what they are and how to add them to your WordPress site. Then, we’ll introduce you to a few plugins that can help you improve on WordPress’ default widget and sidebar options.
Possibly WordPress’ biggest selling point is how customizable it is, even for beginners. Of course, you still have to understand how its fundamental features work if you want to get the most out of your site. Learning how sidebars and widgets function is an excellent first step.
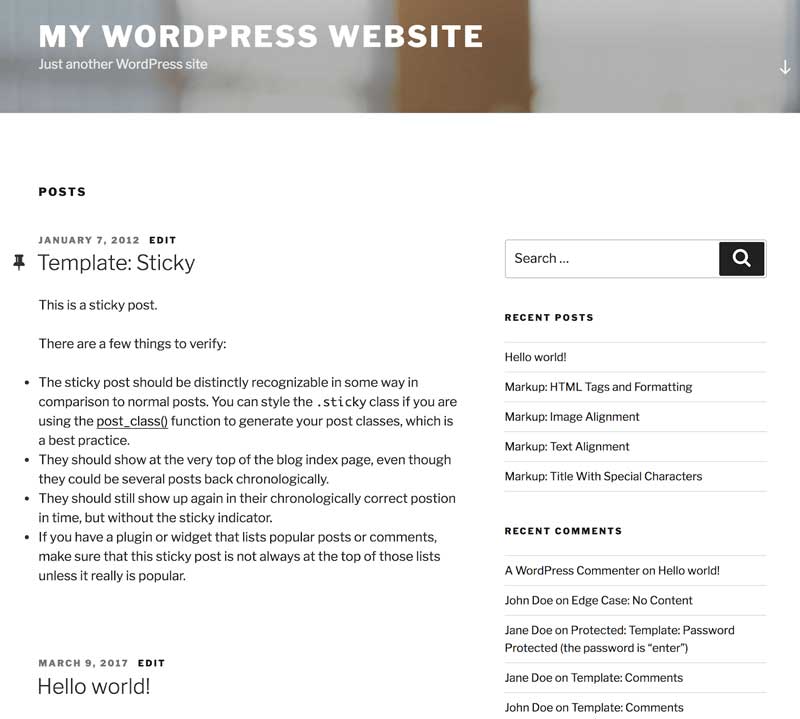
WordPress widgets are handy little modules that enable you to add specific functionality to your site’s sidebars and footers. Even better, you don’t need to know any coding to use them. Thanks to widgets, you can use your sidebars to display images, show off your recent posts, offer a search bar, and much more.
An Introduction to WordPress Widgets and Sidebars
There are a few ways WordPress helps you customize the look and functionality of your website, even if you’re not a designer. For example, themes enable you to make large-scale changes to your site’s appearance. However, what if you want to add specific features to your web pages instead?
Enter widgets — a simple but flexible option that’s included in WordPress by default. Widgets are small, pre-built modules that add new functionality to your site. Using a widget, you can include features such as a search bar, a list of recent posts, a custom menu, and much more on your pages. Plus, the method of actually placing a widget on your site couldn't be easier (we’ll explain how to do this in a moment).
As for where they go, there are one or more designated ‘widget areas’ on your site. How many widget areas you have and where they’re located varies depending on your theme. However, in general, they’re in your site’s sidebar(s) and footer. Therefore, widgets are a method of building out your sidebars and similar elements, so you can customize what they contain.
How to Add Widgets to Your WordPress Site
It’s always easiest to understand how a feature works by seeing it in action. So let’s walk through exactly how to use widgets within WordPress. There are two ways to add widgets to your site. You’ll want to head to your dashboard, and then navigate to either Appearance > Customize or Appearance > Widgets.
We’ll use the first method since the WordPress Customizer enables you to see changes to your site as you make them. Once you’re in the Customize screen, click on the Widgets tab.
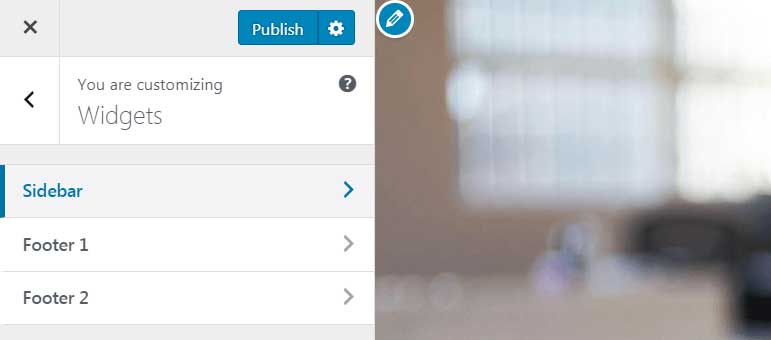
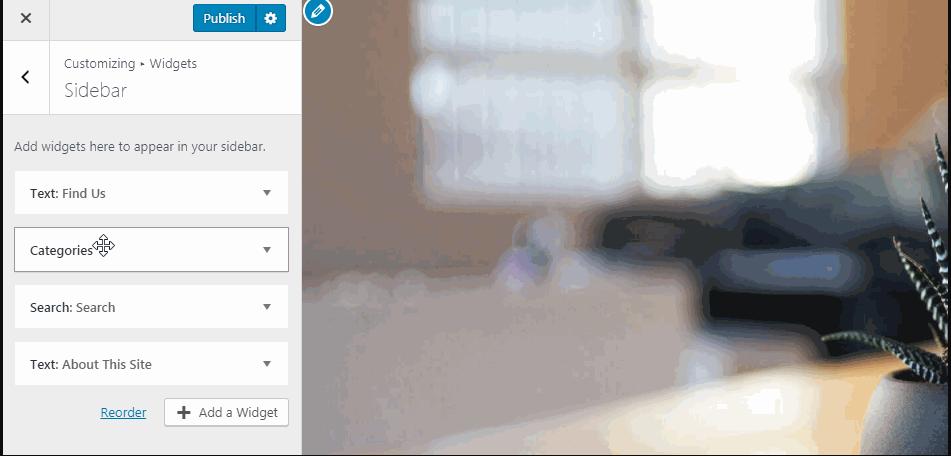
Here, you’ll see a list of the widget areas on your site. Again, what these areas are (and where they’re located on your pages) will vary based on what theme you’re using. In our example, we’re using WordPress’ Twenty Seventeen theme, which has one sidebar on the right side of the page and two separate footers.
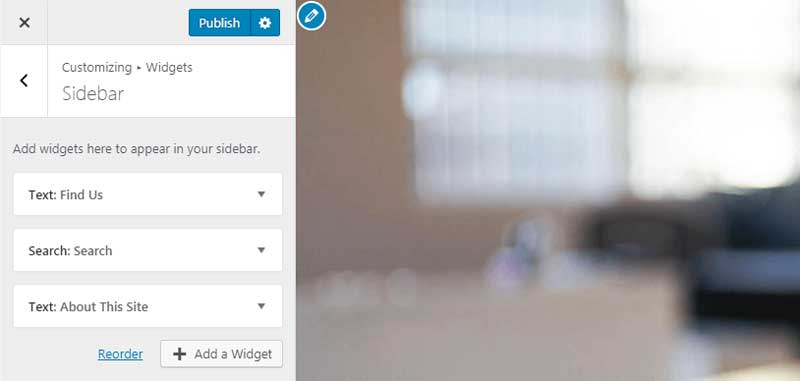
Click on the widget area you’d like to customize. You’ll probably see a few widgets listed there already. For example, the version of Twenty Seventeen we’re using has two Text widgets and a Search widget in the sidebar by default.
Select the Add a Widget button, and you’ll see a list of all the options you can place in your widget area. Let’s say you wanted to include a list of categories in your sidebar. You would merely click on the Categories widget, and it will appear in the list on the left.
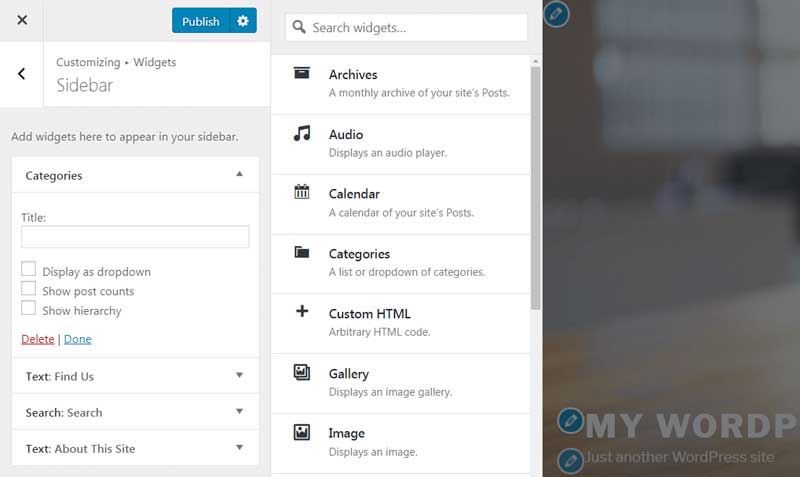
To customize the widget itself, click on the small arrow in the right corner. Each widget has unique options. For example, the Categories widget enables you to set a title and choose from a few settings.
If you want to remove a widget, you can click on Delete at the bottom of its window. To reorder the widgets, select one and drag it up or down.
In the Customizer window, you can see your changes take effect. For example, dragging the Categories widget into your sidebar makes it immediately appear on the page. You can do this with all of your site’s widget areas, tweaking them until you’re happy. When you’re done, don’t forget to hit the Publish button to save your changes!
Exploring WordPress’ Default Widget Options
Once you’ve added widgets to your WordPress site and browsed the list of default options, you may be wondering what all these modules actually do. We won’t go over every single widget here, but let’s touch on a few of the most useful ones.
First, the Text widget is the most flexible of the bunch. If you open it, you’ll see an abbreviated version of the usual WordPress editor.
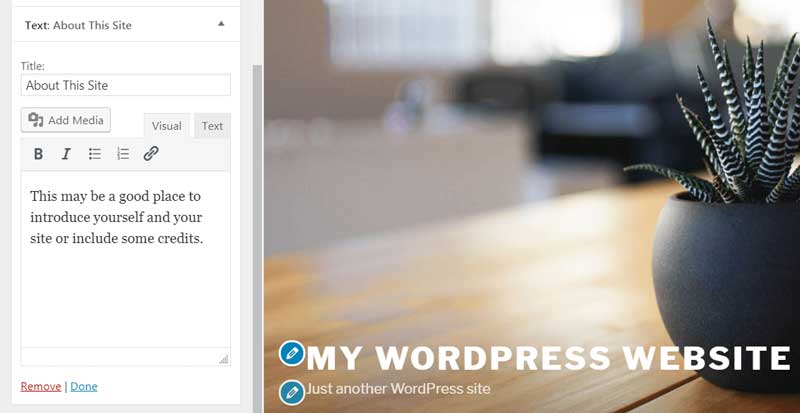
Using this widget, you can add text, links, and various types of media to your sidebars and footers. You can even use the Text tab to include code — which means this little widget can help you add nearly any feature to your widget areas.
Next up, the Search widget is potentially the most straightforward option.

This is an essential widget since users will expect a search bar on just about any site they visit.
For a blog, news site, or similar website, the Recent Posts widget is a smart inclusion.

This will display a short list of your recent posts in the widget area, enticing visitors to read your latest (and hopefully greatest) content. You can set a title, which is again optional, decide how many posts will be displayed, and choose whether to display each post’s date.
Finally, you may also want to check out the Navigation Menu widget.
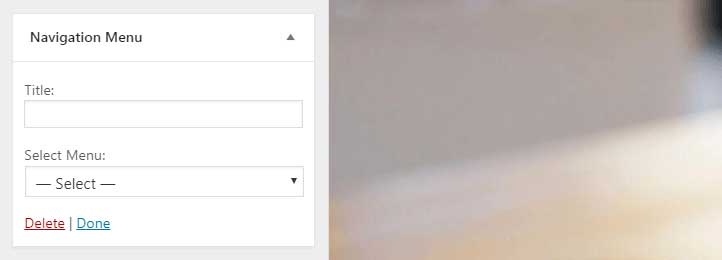
Most themes have one or more menus built into their design. However, you can use widgets to place additional menus within your sidebars and footers. For more information on how to do this, check out our full guide on creating custom menus.
WordPress offers more widgets than we can cover here, and it’s worth familiarizing yourself with all of them. Most are very self-explanatory, but if you have any trouble, you can check out the WordPress Codex for more details.
4 Plugins to Help Supercharge Your WordPress Widgets
While WordPress’ bundled widgets are powerful, some users want more options. Additionally, you may benefit from having more control over your sidebars, footers, and other widget areas. These four plugins offer you extra choices and flexibility when it comes to your widgets and sidebars.
1. Recent Posts Widget With Thumbnails

As we discussed above, WordPress already has a Recent Posts Widget. However, it will simply display links to your latest posts. Adding an image to each post is a great way to draw more attention to this element and help your sidebars look more attractive. Recent Posts Widget With Thumbnails is a simple but effective free plugin that enables you to achieve this.
2. Top Posts & Pages Widget by Jetpack

What if, instead of showing off your most recent posts, you want to direct visitors towards your best content? Jetpack’s Top Posts & Pages Widget enables you to showcase the posts that are already doing well. You can either display your most liked posts or the content that has received the most traffic over the past two days.
3. SiteOrigin Widgets Bundle
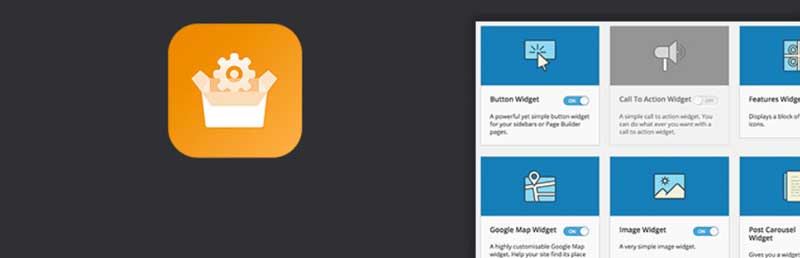
The previous two plugins include only a single widget, which is great if you only need one specific feature. SiteOrigin Widgets Bundle, on the other hand, adds dozens of new widgets to your site. Using this plugin, you’ll be able to place buttons, maps, post carousels, social media links, and more in your sidebars and footers.
4. Custom Sidebars

In general, adding a widget to your sidebar means it will show up in the same place on every page and post. However, it’s common to want different features and information to display on various parts of your site. Custom Sidebars lets you change up what widgets appear on which pages, along with providing a host of other customization options.
Conclusion
When designing your site, it’s important not to forget about your sidebars and footers. Optimizing these areas is key to building effective and user-friendly pages. Fortunately, WordPress widgets dramatically simplify the process of adding useful features to your site.