How to Add Custom Fields to Your WordPress Posts

As you become comfortable with WordPress, you may want to start pushing its boundaries. This means experimenting with some of the platform’s more advanced options, which includes learning how to create custom fields.
Adding a custom field to your WordPress post enables you to assign extra data to it. In turn, this helps you add specific information or features only to particular posts. As an example, you could use a custom field to tell WordPress which of your posts are sponsored, then add some code to your theme file that will display a disclosure statement only on those posts.
Get Content Delivered Straight to Your Inbox
Subscribe to our blog and receive great content just like this delivered straight to your inbox.
An Introduction to Custom Fields
The WordPress Block Editor is pretty flexible by default and enables you to customize your content to the Nth degree. You can add just about anything you like to your posts. However, the more content you have, the more you may start wishing for better ways to organize and manage it.
Custom fields are a somewhat more advanced WordPress feature that lets you add extra information to specific posts. That information is called ‘metadata’. Custom fields and metadata are of particular use to developers, who can use them to extend posts with all sorts of additional coding. However, they can still be beneficial for the more general WordPress users.
For example, let’s say you wanted to indicate which of the posts on your blog are sponsored to ensure you’re being transparent with your audience. You could add a short disclosure statement to each relevant post individually. Alternatively, you could save time by using a custom field that displays a relevant message. Then, you could add code to your theme file to make your disclosure statement appear on the correct posts.
If this sounds complex, don’t worry. Using custom fields is more straightforward than it looks. In fact, we’ll show you exactly how to implement this example below. If you’re interested in other potential applications for custom fields and metadata, you may also want to check out the WordPress Codex entry on the topic.
How to Add Custom Fields to Your WordPress Posts (In 2 Steps)
The concept of custom fields might seem a bit abstract, so let’s walk through an example to see exactly how this feature works in action. This general custom field process can be used for a wide variety of applications. You could add status updates to your posts, include a disclosure notice on sponsored content, and much more.
However, you’ll first want to take a moment and back up your website. If you’re following these instructions, you’ll be implementing changes to your theme’s primary file, and you don’t want to risk making any permanent mistakes. For extra security, creating a child theme and using it instead of your base theme is also advisable.
Step 1: Enable Custom Fields and Assign New Metadata to Your Post
The first thing you’ll need to do is open up a post to which you would like to add a custom field. It can be an old post or a new one.
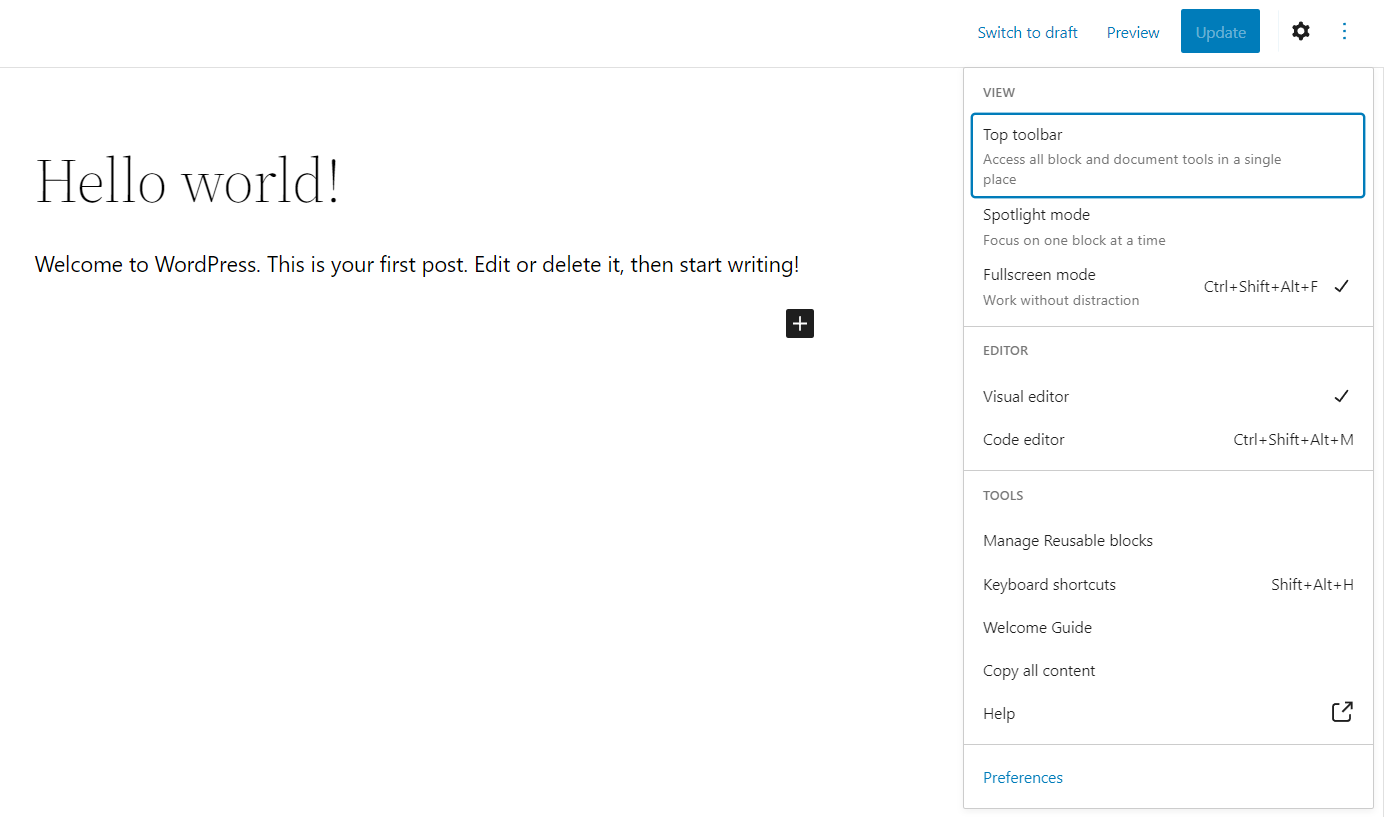
Click on the three dots in the top right corner and select Preferences from the dropdown list:
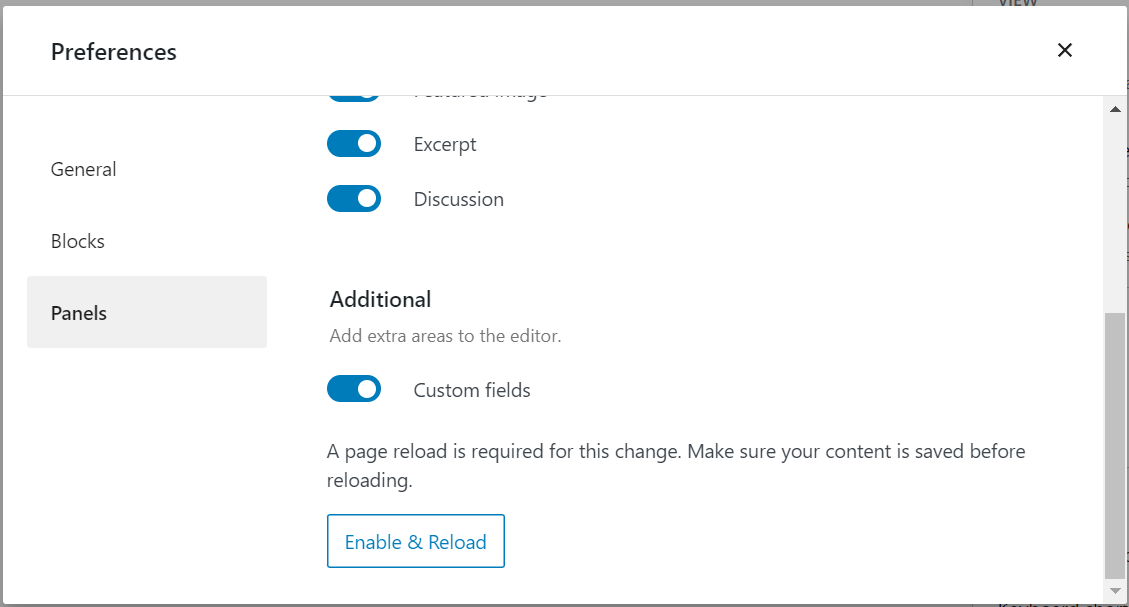
Then, select Panels from the popup menu and enable Custom fields. You’ll now be prompted to Enable & Reload:
Now, if you scroll down below the post, you’ll find a new section:
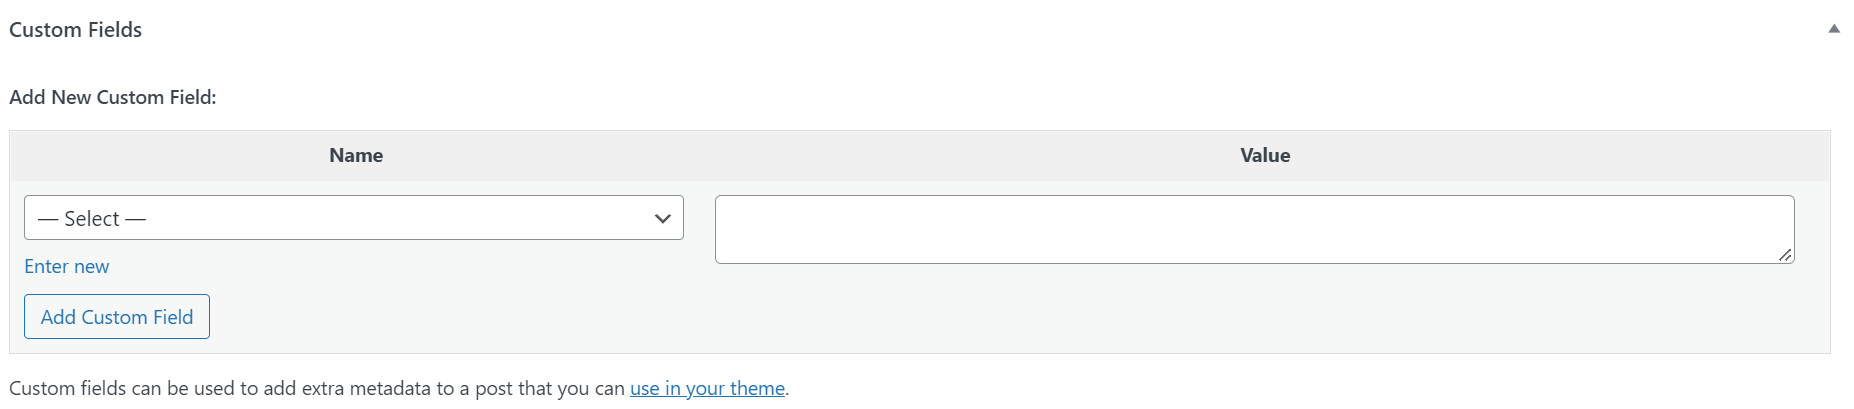
Under Name and Value, you’ll add some metadata describing the information you want to add to this post. Depending on the themes and plugins you have installed, you may already have some options listed under Name. Regardless, you’ll want to create new metadata in this instance.
Choose a name for your metadata. It can be anything, although it’s best to keep it short and descriptive. Continuing our example from above about displaying a disclosure statement on specific posts, we’ll call it Sponsored Post. Then we’ll add a simple “Yes” to the Value box, indicating that this particular post is sponsored:
Click on Add Custom Field, and this metadata will now be assigned to your post. Don’t forget to save or update the post itself too.
Step 2: Add Conditional Code to Your Theme File
The previous step told WordPress a critical piece of information about your post: whether or not it is sponsored content. Now, you need to add directions so that your site knows what to do about that. As we mentioned earlier, this does involve a bit of coding. However, don’t let that scare you off. Even if you aren’t a developer, you should find the process relatively straightforward.
Within WordPress, you’ll want to navigate to Tools > Theme File Editor. Here, you can look through and make changes to the files that make up your site. You’ll want to check out the sidebar on the right-hand side and find the Single Post file (also known as single.php):
This is where you’ll add the code that will tell WordPress what to do in response to your custom fields. The exact code you’ll use will vary somewhat, depending on what you want to do. In our example, you’d want to add this snippet:
<?php
$meta = get_post_meta( get_the_ID(), 'Sponsored Post' );
if( $meta[0] == 'Yes' ) {
?>
<p>This post is sponsored content, and we received a free copy of the product in order to conduct our review.</p>
<?php } ?>
Then, click on the Update File button. This code tells WordPress to check and see if a post has the Sponsored Post custom field and if the value is set to “Yes”. If so, it will display the message. If there is no custom field or the Sponsored Post value is set to “No”, nothing extra will be added to the post.
Also, where you place the code will determine when it appears in the post. For example, to get it to appear at the top of the page, you would add it before this line in the single.php file:
while ( have_posts() ) : the_post();
Hopefully, you are beginning to see how custom fields can be useful. There are a lot of possibilities when using this feature, so don’t be afraid to play around a little and see what you can accomplish with it.
Using Plugins to Manage Your Custom Fields
You now know how to add custom fields and metadata to your WordPress posts. However, what if you want to get more flexibility from this feature or just want to simplify the process?
This is WordPress we’re talking about, so of course, there are plugins that can help you out. There may not be a lot of plugins related to custom fields, but you can find a few quality options. For a great example, check out Advanced Custom Fields:
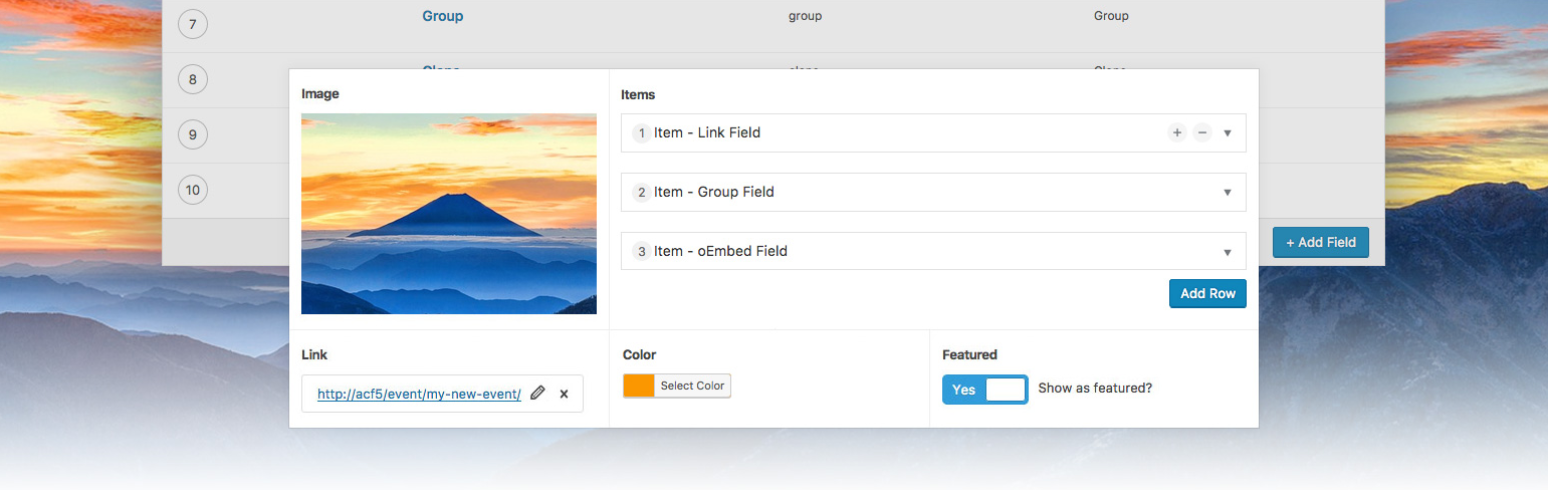
This very popular, free plugin streamlines the process of adding custom fields to WordPress. It also gives you more choices for where metadata can be added, such as users, media, and comments. Finally, it adds tools to provide more options for displaying custom field values within your theme files. There’s even a premium version with even more functionality.
If that plugin seems like overkill — and it can be for non-developers — Custom Field Suite is a solid alternative:

This tool is essentially a lightweight version of Advanced Custom Fields. It adds a handful of useful new custom field types to your site. Plus, it simplifies adding and managing custom fields without overwhelming you with too many new options.
This can be a smart plugin to start with if you’re looking to get more out of your custom fields. What’s more, you can always switch to a more robust solution once you feel more confident with the process.
Add Custom Fields to WordPress Content
Custom fields and metadata are concepts that might seem a smidge confusing at first. However, with time and patience, you’ll find that they enable you to get even more out of the WordPress platform.
Want a Free Theme?
When you host with DreamHost you get access to our WP Website Builder tool and more than 200+ industry-specific starter sites for free!